Blog - Martin Pierce

bronze door handles

A Guide to Welding Sculpture

The skill set developed in  creating bronze and steel door handles has proven an invaluable foundation for Martin Pierce’s art work. However, until we recently met Maria Ramirez-Adams we were unable to document the welding and patina techniques used in both hardware and art. Maria’s skill in capturing these moments will be the focus of this and other posts.
For those unfamiliar with the different types of welding www.thecrucible.org provides some very accessible well written pieces as well as instructional courses.
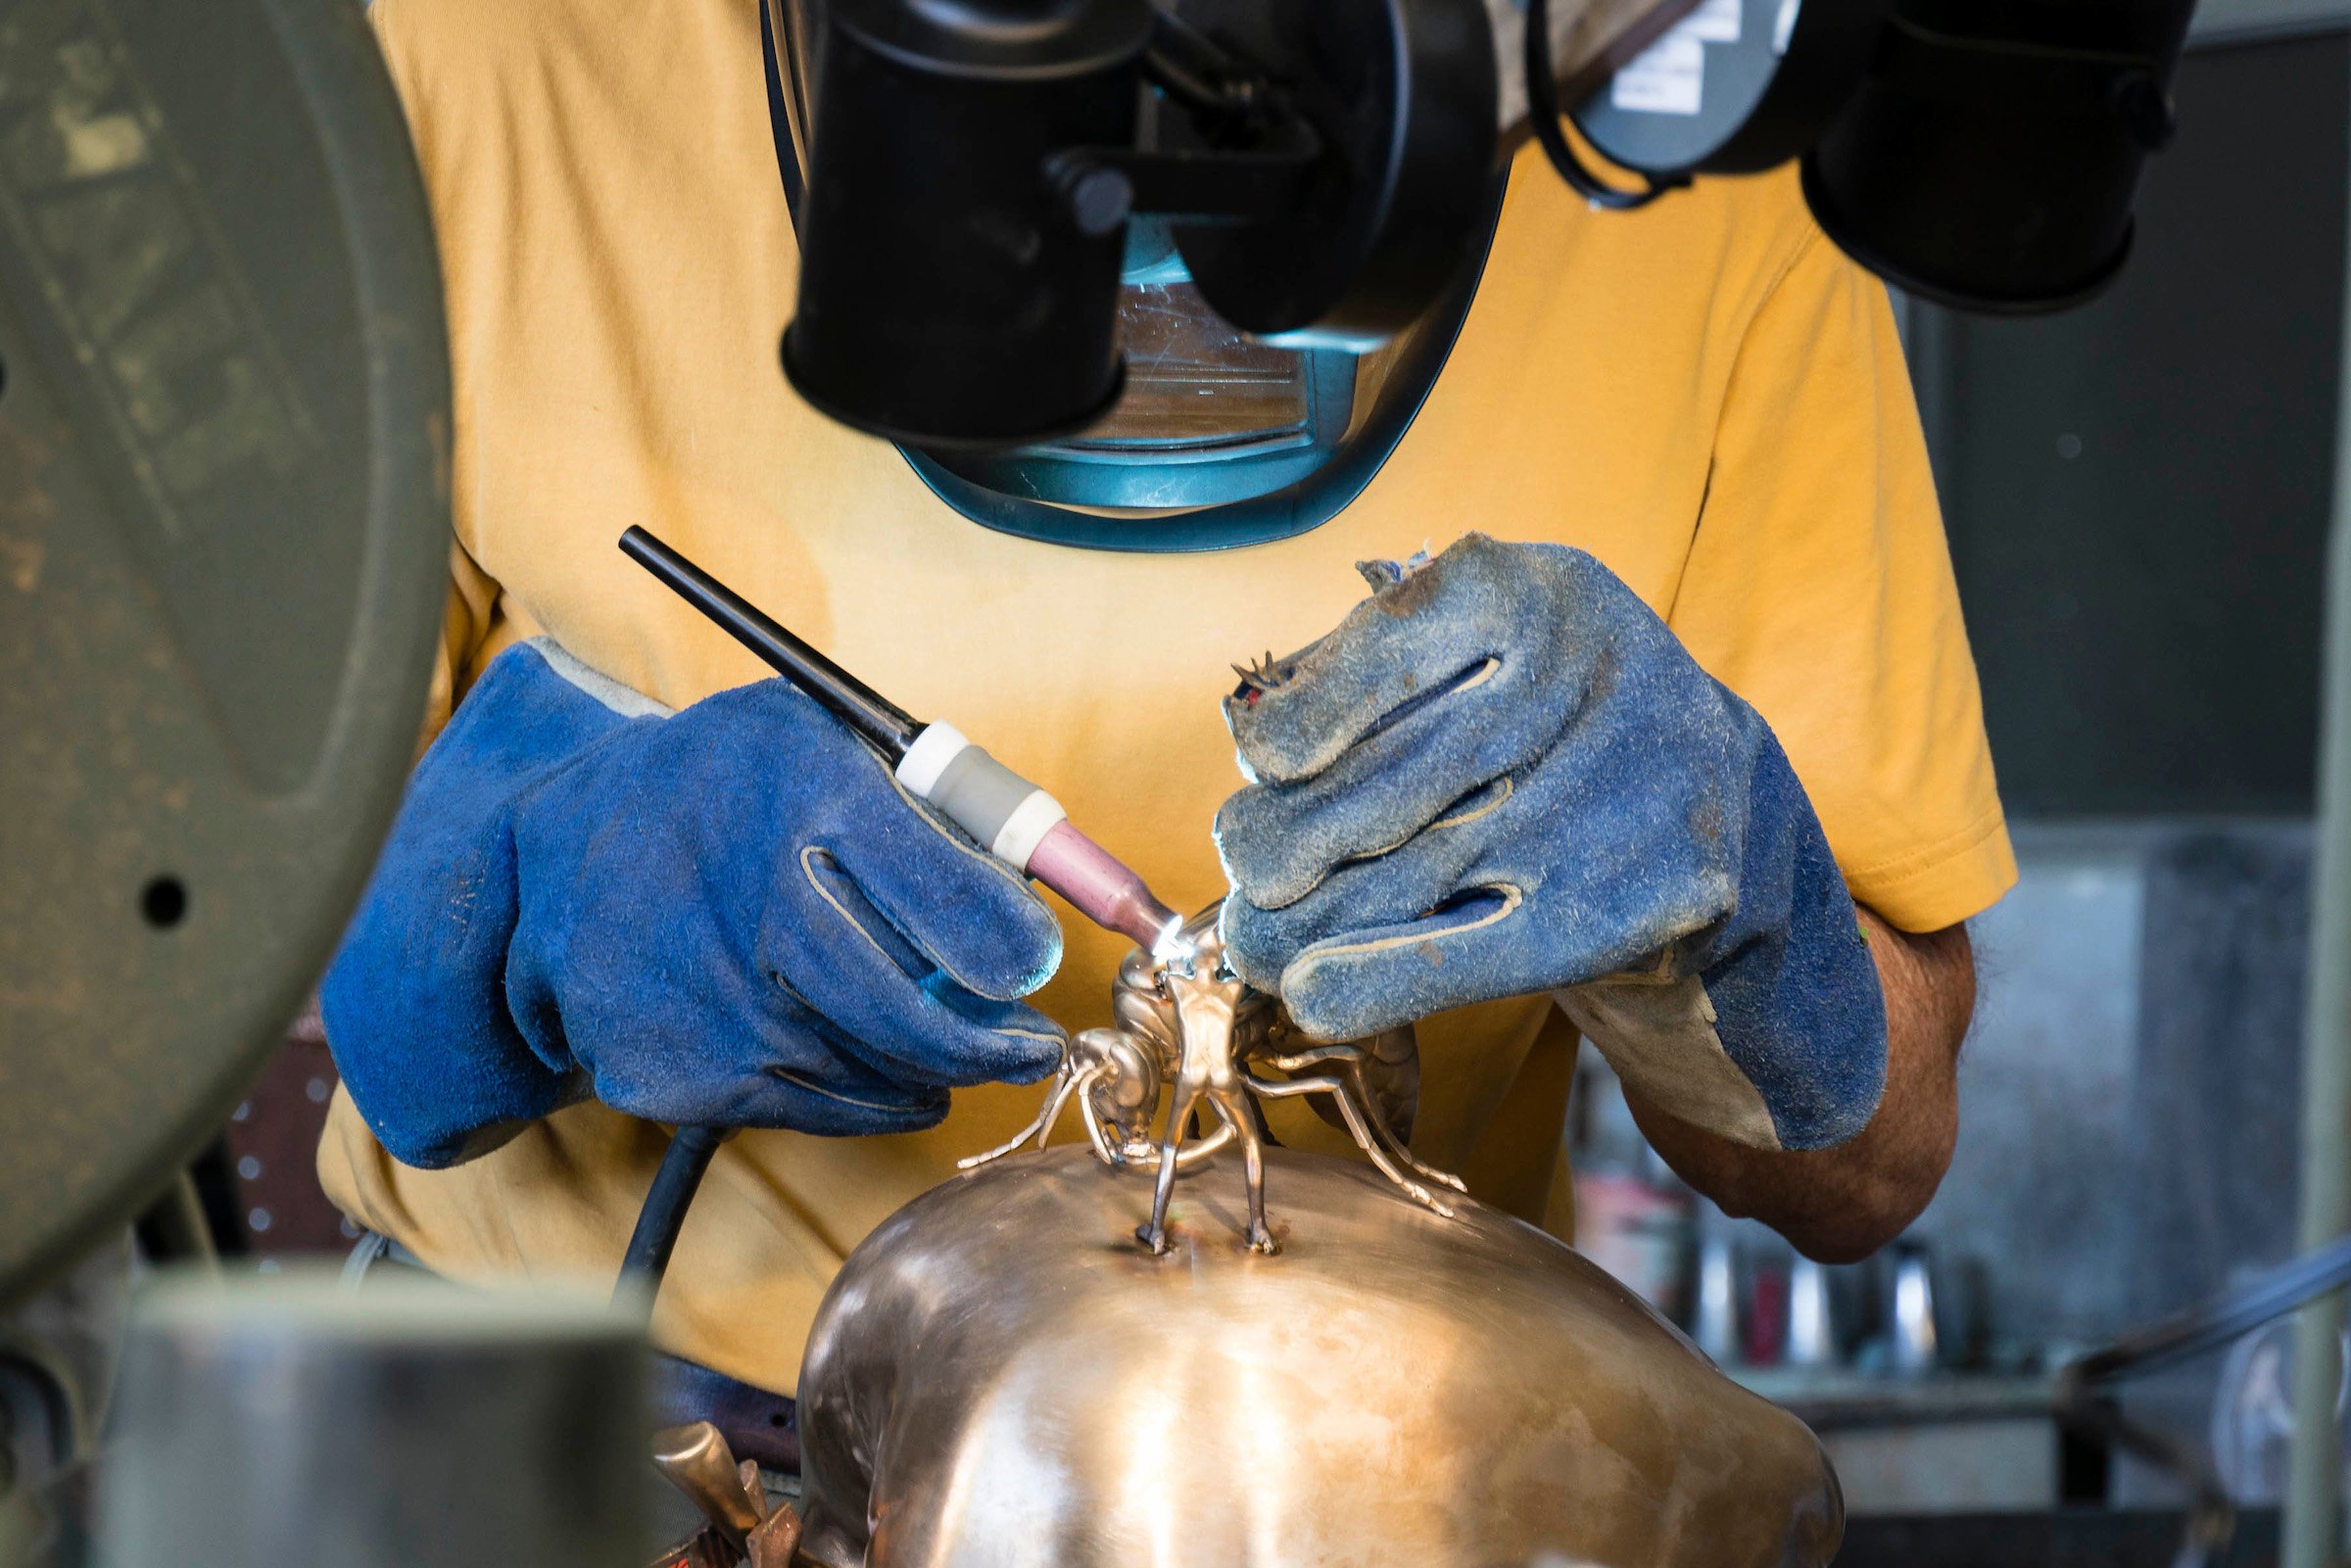
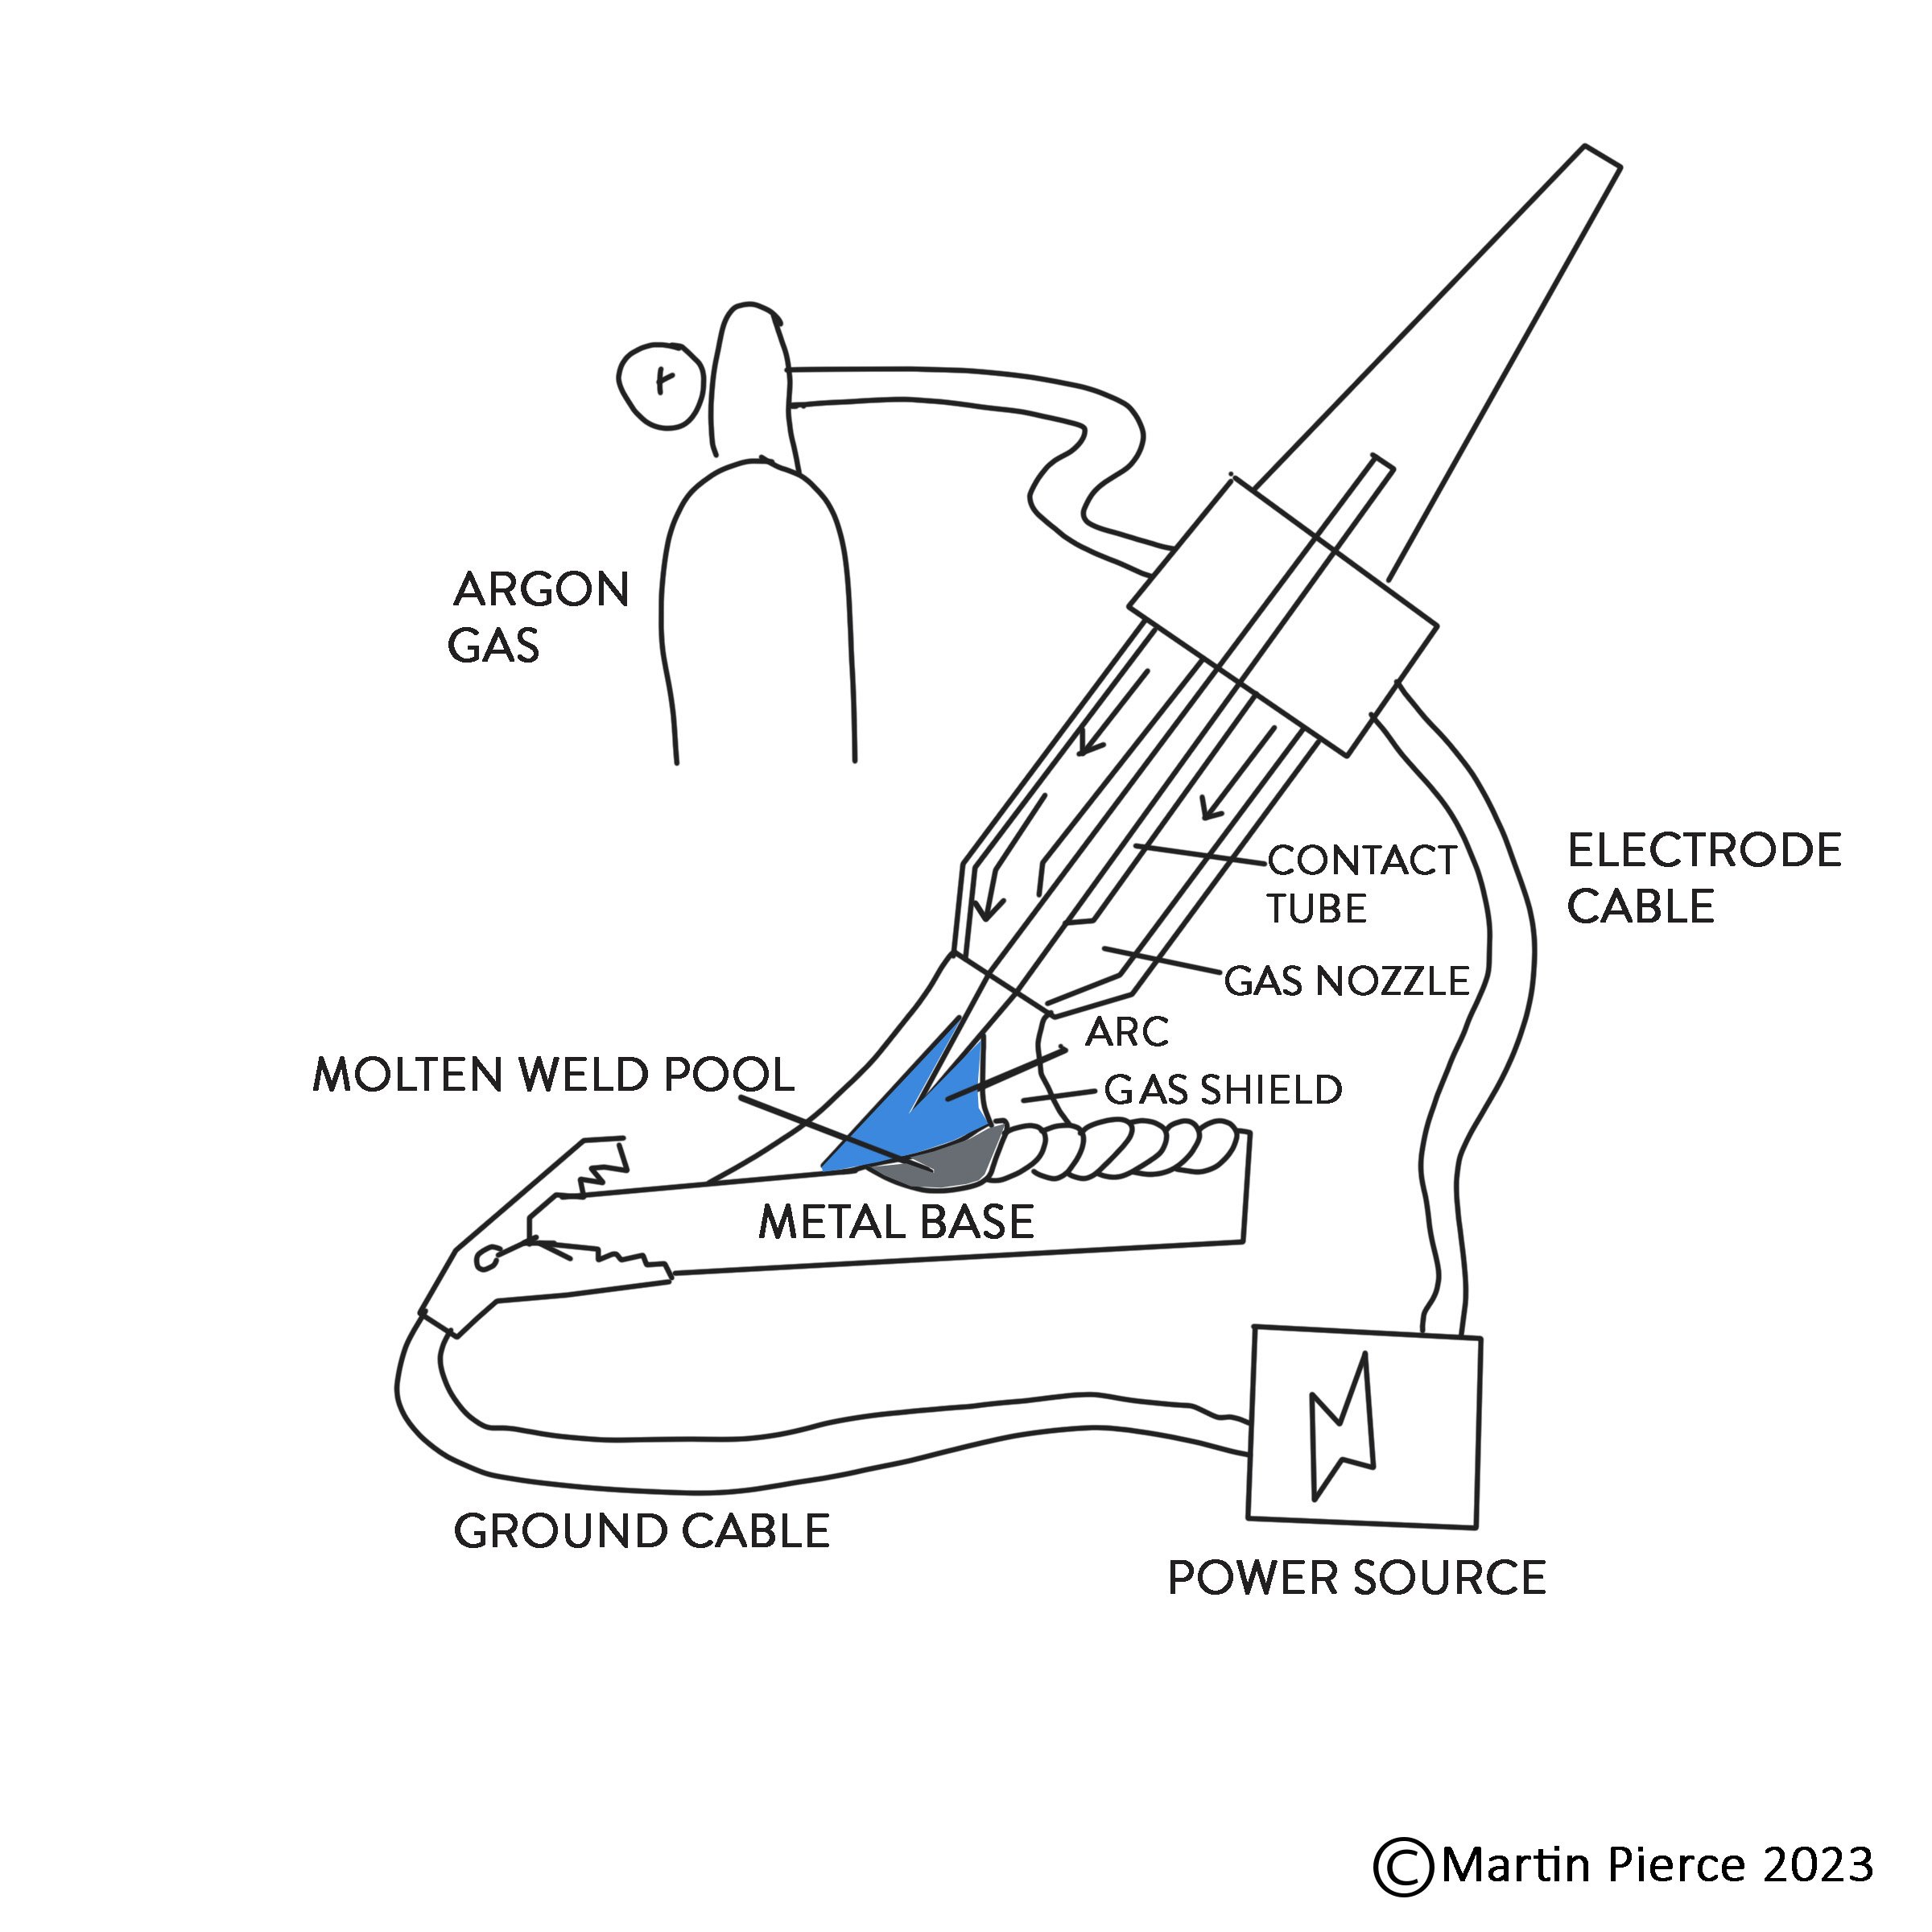
To assemble the components parts of a door handle we use the TIG welding method which does have a slow learning curve but is well suited to welding different thicknesses of metal and to welding very small pieces that need just enough weld to form a tight small bond. TIG welding can be used to weld either our 316 marine grade stainless steel or our silicon bronze castings. The abbreviation TIG stands for Tungsten inert gas also known as tungsten gas arc welding. TIG welding works by heating up the areas of metal to be connected and by inserting a welding rod of the same metal in this area to create a pool of melted metal that will form a connection or weld. The welding torch has a tungsten electrode that, on contact with metal, sparks to form an arc. While the electrode receives a constant current of power the voltage is controlled by a foot pedal which when depressed shortens and intensifies the heat of the electric arc.

Argon gas plays an interesting role, it’s purpose being to protect the welding process from contamination. The gas passes through the welding torch and shrouds the arc of the torch thereby preventing the weld area from being degraded by oxygen and other elements that could impact the integrity and strength of the weld. Argon gas is inert or inactive so it does not combine with elements in the air or work area so works perfectly as a shield.

To see Martin in action welding visit this informative video by Maria Ramirez-Adams.


The Hornet on Apple is a limited edition of 30 and is part of a collection of larger-than-life insects and diminished scale humans. The piece weighs 32lbs, measures 13"W x 10"D x 13"H and is a welding challenge. To attach the human to the apple the surface of the apple is heated first and then the welding torch is brought closer and closer to the human and apple and a small area of the foot and apple are melded or tacked together to form a temporary connection. The welding rod is then melted to fill in the remaining gap between the foot and apple.

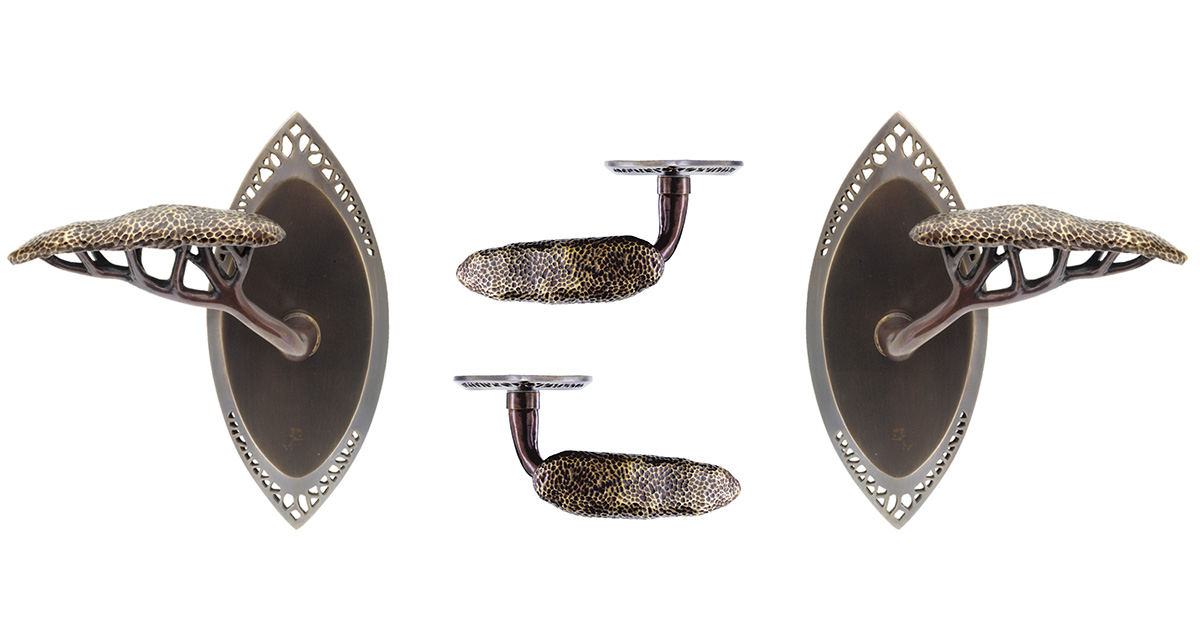
In door hardware the non-operative door trim typically the requires fine TIG welding. For example, the operative Hedgerow passageway set has moving non-fixed parts and is assembled with through bolts and a spindle that activates the door latch. By comparison,  non-operative version is fixed in place and the lever is welded to the backplate using the fine TIG technique.


Left: Showing weld before clean-up Center: Buffed Right: Operative Form

New Carp Fish Door Pull Takes Shape

The design for our illuminated fish handle was a cutout carp fish where sections were removed so that the LED light could shine through to create a colored fish.


We recently had an inquiry for a fish door pull, and suggested we modify the illuminated Carp to make a solid bronze Carp only to find that the client was a restaurateur whose menu included Chinook (King) salmon. As our creative minds were already charged, we went back to the drawing board and decided to designed a new non-illuminated Carp door handle to add to our door hardware collections. As the new handle will be a door pull, we had to redesign our existing carp to make it more 3 dimensional and without sharp fins. As the carp’s distinctive markings would no longer be lit by colored LED’s we had to capture these markings by creating recessed areas that when patinaed will be visible as markings. We are planning to cast the handle in bronze a medium that can be patinaed in dark and light tones through an oil rubbed finish or in a dramatic verdigris or red/brown hot patina.

Etched Fish 2.jpg

As the new carp design is smooth and not textured, we may also cast it in stainless steel and powder coat the recessed areas black or powder coat the entire fish using 2 colors one for the recessed sections, the other for the upper surface. Stainless steel is a good alternative alloy to bronze but the 316 grade we use is extremely hard and very difficult to sand and polish. We use this grade as it contains molybdenum which makes the alloy corrosion resistant when exposed to sea air that contains chloride and thus the ideal medium for ocean properties. This medium is less suited to highly textured pieces and explains why our modern door handle designs with their cleaner lines are where we use this medium.

Large Fish scetch red2.jpg


As the carp design was merely 12”in height and as Martin Pierce is a sculptor, he preferred to make this pattern from solid high-density foam.

Limited Edition Door Handles

Limited Edition Door handles
We are a limited production company making finely detailed hand-made door hardware but our grapevine heroic door handle is a limited edition and here we examine both concepts.

All of our hardware is made using the lost wax method of casting and each piece is always chased by hand and finished by hand, which is a production process that simply does not work for industrial manufactures making 100’s or thousands of door handles. As artisans we are able to focus on smaller quantities which ensures that we can produce high quality unique and we hope more interesting pieces. In this sense our work is similar to that of the boutique or small winery who by virtue of their size are able to put more care into their craft than larger wineries.
Continuing the analogy the Grapevine Heroic door pull is akin to a small celebratory edition of wine where the number of bottle is limited to a few cases. The door pull was designed as a statement piece for wine collectors and is scaled for large wine cellar doors. The pull is made with the same care as any other piece but it’s scale, design and complexity warranted the added value of a finite edition of 100 pieces. Being 42” high and with 3 intricate sections the waxes are made personally by Martin Pierce who shapes and refines the smallest of details so that each piece is truly unique. Each piece is numbered and signed by Martin at the wax stage and we are currently at number 15.


Our hardware designs evolved from our work as furniture makers where we offered limited editions for the Vine Highboy (100) Aspen Buffet (30) and Aspen armoire (50).
The small number of the edition and the price point ensure that the edition will take several years to complete with each piece being fresh to the artists eye.

Using a heated scalpel and hand chisel Martin removes small imperfections from the wax

Using a heated scalpel and hand chisel Martin removes small imperfections from the wax

3D Printing as useful tool in casting custom door handles

 Casting a custom door handle requires an understanding of the shrinkage that occurs in traditional lost wax casting. When casting in bronze or steel the process starts with a pattern often sculpted by hand in wood or clay but with the advent of 3D printing we are now in some cases able to produce this as a Quick Cast  stereolithographic print (SLA). While these 3D prints are useful in developing prototypes they still need to be finished by hand and are often too expensive to be used as wax substitutes since they too are burnt out and wasted in the lost wax process.

3D prints have their place as prototypes and for custom short run projects where the cost of developing a mold or tooling cannot be amortized over a large enough quantity to make the project cost effective.

Recently we considered 3D printing as a protype tool in helping to create a left and right pattern for a short run project of 4 sets of door handles. When developing a new handle set we often break the design down into component parts and where there is a directional detail this means we must make 2 patterns one for left and one for the right facing section. 3D scanning and modeling allows us to use one carved pattern to create a second mirror image model that is printed in a resin compound. While this reduces the development cost, the digital print often needs to be re-carved so that very fine details like leaf veins and scales can be sharpened by hand.

The picture below of the Hedgerow door lever shows that the branches of this piece are very directional thus requiring a left and right mold, but the canopy is generic to both levers.

Hedgerow lever left right.jpg


One advantage that SLA’s have over wax patterns is that they are not subject to shrinkage. In lost wax casting shrinkage occurs when the molten wax solidifies and when the bronze or steel casting is poured. There are a wide variety of waxes used in this process and their composition effects how they pour, how they solidify and how much they shrink. While a wax pattern may shrink by approximately .6% no shrinkage occurs with the print.


Trying to mathematically predict the exact amount by which the wax pattern and subsequent casting will shrink is difficult when developing a new piece. If the dimension of the piece is critical then we will often create a mold and wax of a smaller section so that we can exactly determine the overall shrinkage and can then re-scale the complete piece making it and the subsequent mold large enough to compensate for this shrinkage.

Creating Custom Door Hardware Using The Lost Wax Method of Casting

Limited Edition Custom Handle Commission in Bronze

Limited Edition Custom Handle Commission in Bronze

We are frequently asked to make one of a kind door handles for designers looking for a statement piece for a restaurant or retail project or corporations looking to expand their brand presence. The requests we receive can be challenging and some, such as a request for rotating human hand, border on the bizarre.

As a company we do a lot of custom casting but  the process we use to create our work is costly and does not lend itself to value engineering. The focus of this article is to outline the process with the aid of photographs taken during the  creation of a wine cellar door handle, commissioned by a client as a limited edition.

As designers we truly respect the creative process and understand the time that goes into creating a unique piece and accordingly will only work on projects that are free from plagiarism.

The Process – step by step

1.        Concept drawing(s) often several form the starting point to a dialogue where we establish the size of the handle, whether it needs to operate a latch or is to be used as a stationary grip.

2.        Perspective drawings are detailed drawings that show the client how the piece will look when viewed from different vantage points. We need to understand if the piece is being viewed from all sides as it would be if used as a grip mounted on a glass door. How the piece is to be mounted either by through bolts or surface screws will need to be decided and drawn.

Pattern Development

A three dimensional pattern is created in wood or if the piece is small, typically less than 3”, then in solid wax. At this point 3D printing is slow and  expensive but it can be useful if one is creating a mirror image of a simple shape especially when the shape is symmetrical. We used 3D printing when creating the simple gourd shape for our Dragon Egg Sconce.

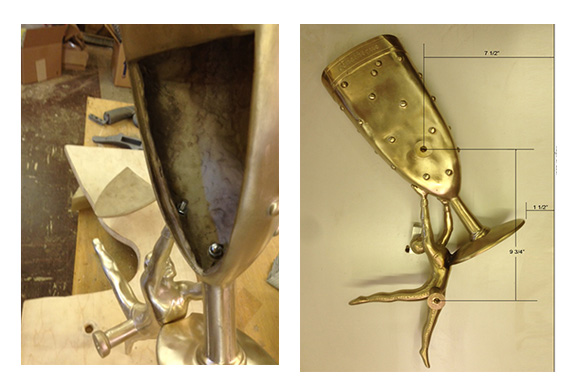
For larger detailed and organic pieces Martin Pierce carves the pattern by hand. He uses a reductive approach to whittle down his over-sized block of wood to create the pattern. Other pattern makers use an additive approach and they create the pattern by adding and forming pieces of clay. In our case study the design required 4 patterns to be carved, a left and right facing waiter and their two goblets. The patterns took many hours to create but by carving the pieces with an array of different chisels Martin could create a very detailed fine pattern and one whose details could be captured in bronze.

pattern-later-stage

Mold Making

Each pattern requires a mold and if the piece has a lot of undercuts it may require a 2 piece mold. In this instance we developed a total of 4  two -piece molds each one made to encapsulate one of the 4 patterns. The molds are made from building up successive layers of silicone rubber that pick up the fine detail of the pattern. The pliable nature of the rubber is then reinforced by an outer casing made of plaster or metal which holds the 2 parts of the mold in place so that they can withstand the pressure applied when molten wax is injected into the cavity. The cavity is created when the pattern is removed from the mold and to make this easier the pattern is coated with a release agent before the rubber is applied.

Casting – what is meant by lost wax?

For every piece we cast in bronze, we first make a wax replica by pouring molten wax into the cavity of the mold. Theoretically these replicas could be 3 D printed but at this point the process is slow and expensive. Depending on the size and cooling time it is possible to make multiple waxes in a short period of time. At this point the channels that will be needed to supply the molten metal and those that are needed to vent the air created by flowing metal are added in the form of sprues and gates.

blue-wax-men.jpg

The wax replicas are then “shelled” and dipped into successive coats of liquid silica to build up a thick outer shell. If the shell wall is not sufficiently thick then it may well fail when the bronze is eventually poured. For large castings the shelling process can take weeks but it is a critical step that determines the success of the casing.

After the wax has been shelled the wax will be removed in an autoclave steamer that essentially steams or heats up the solid shell so that the wax is evacuated or “lost”.

 The hollow shell or ceramic case is then fired and is ready to receive the molten bronze. Once the casting has cooled all the sprues and gates will be ground off and the casting will be groomed with metal files to remove any casting imperfections.

Chasing and machining the casting

Chasing and machining the casting

The casting will then be machined for mounting bolts, latches or other locks  that it will be used with.    

The casting is then ready to be finished. In our case study we applied 3 different types of chemical patina and re-burnished key areas so we could delineate the writing on the goblet and the waistcoat buttons on the waiter’s jackets.