In the previous post we documented the designing and pattern creation process for our new large orchid pull. Next, we make 3 two-part molds, one for each of the stamen, labellum, and petals.
Our mold is made using a 2-part silicone rubber solution Mold Star distributed by Reynolds Rubber.
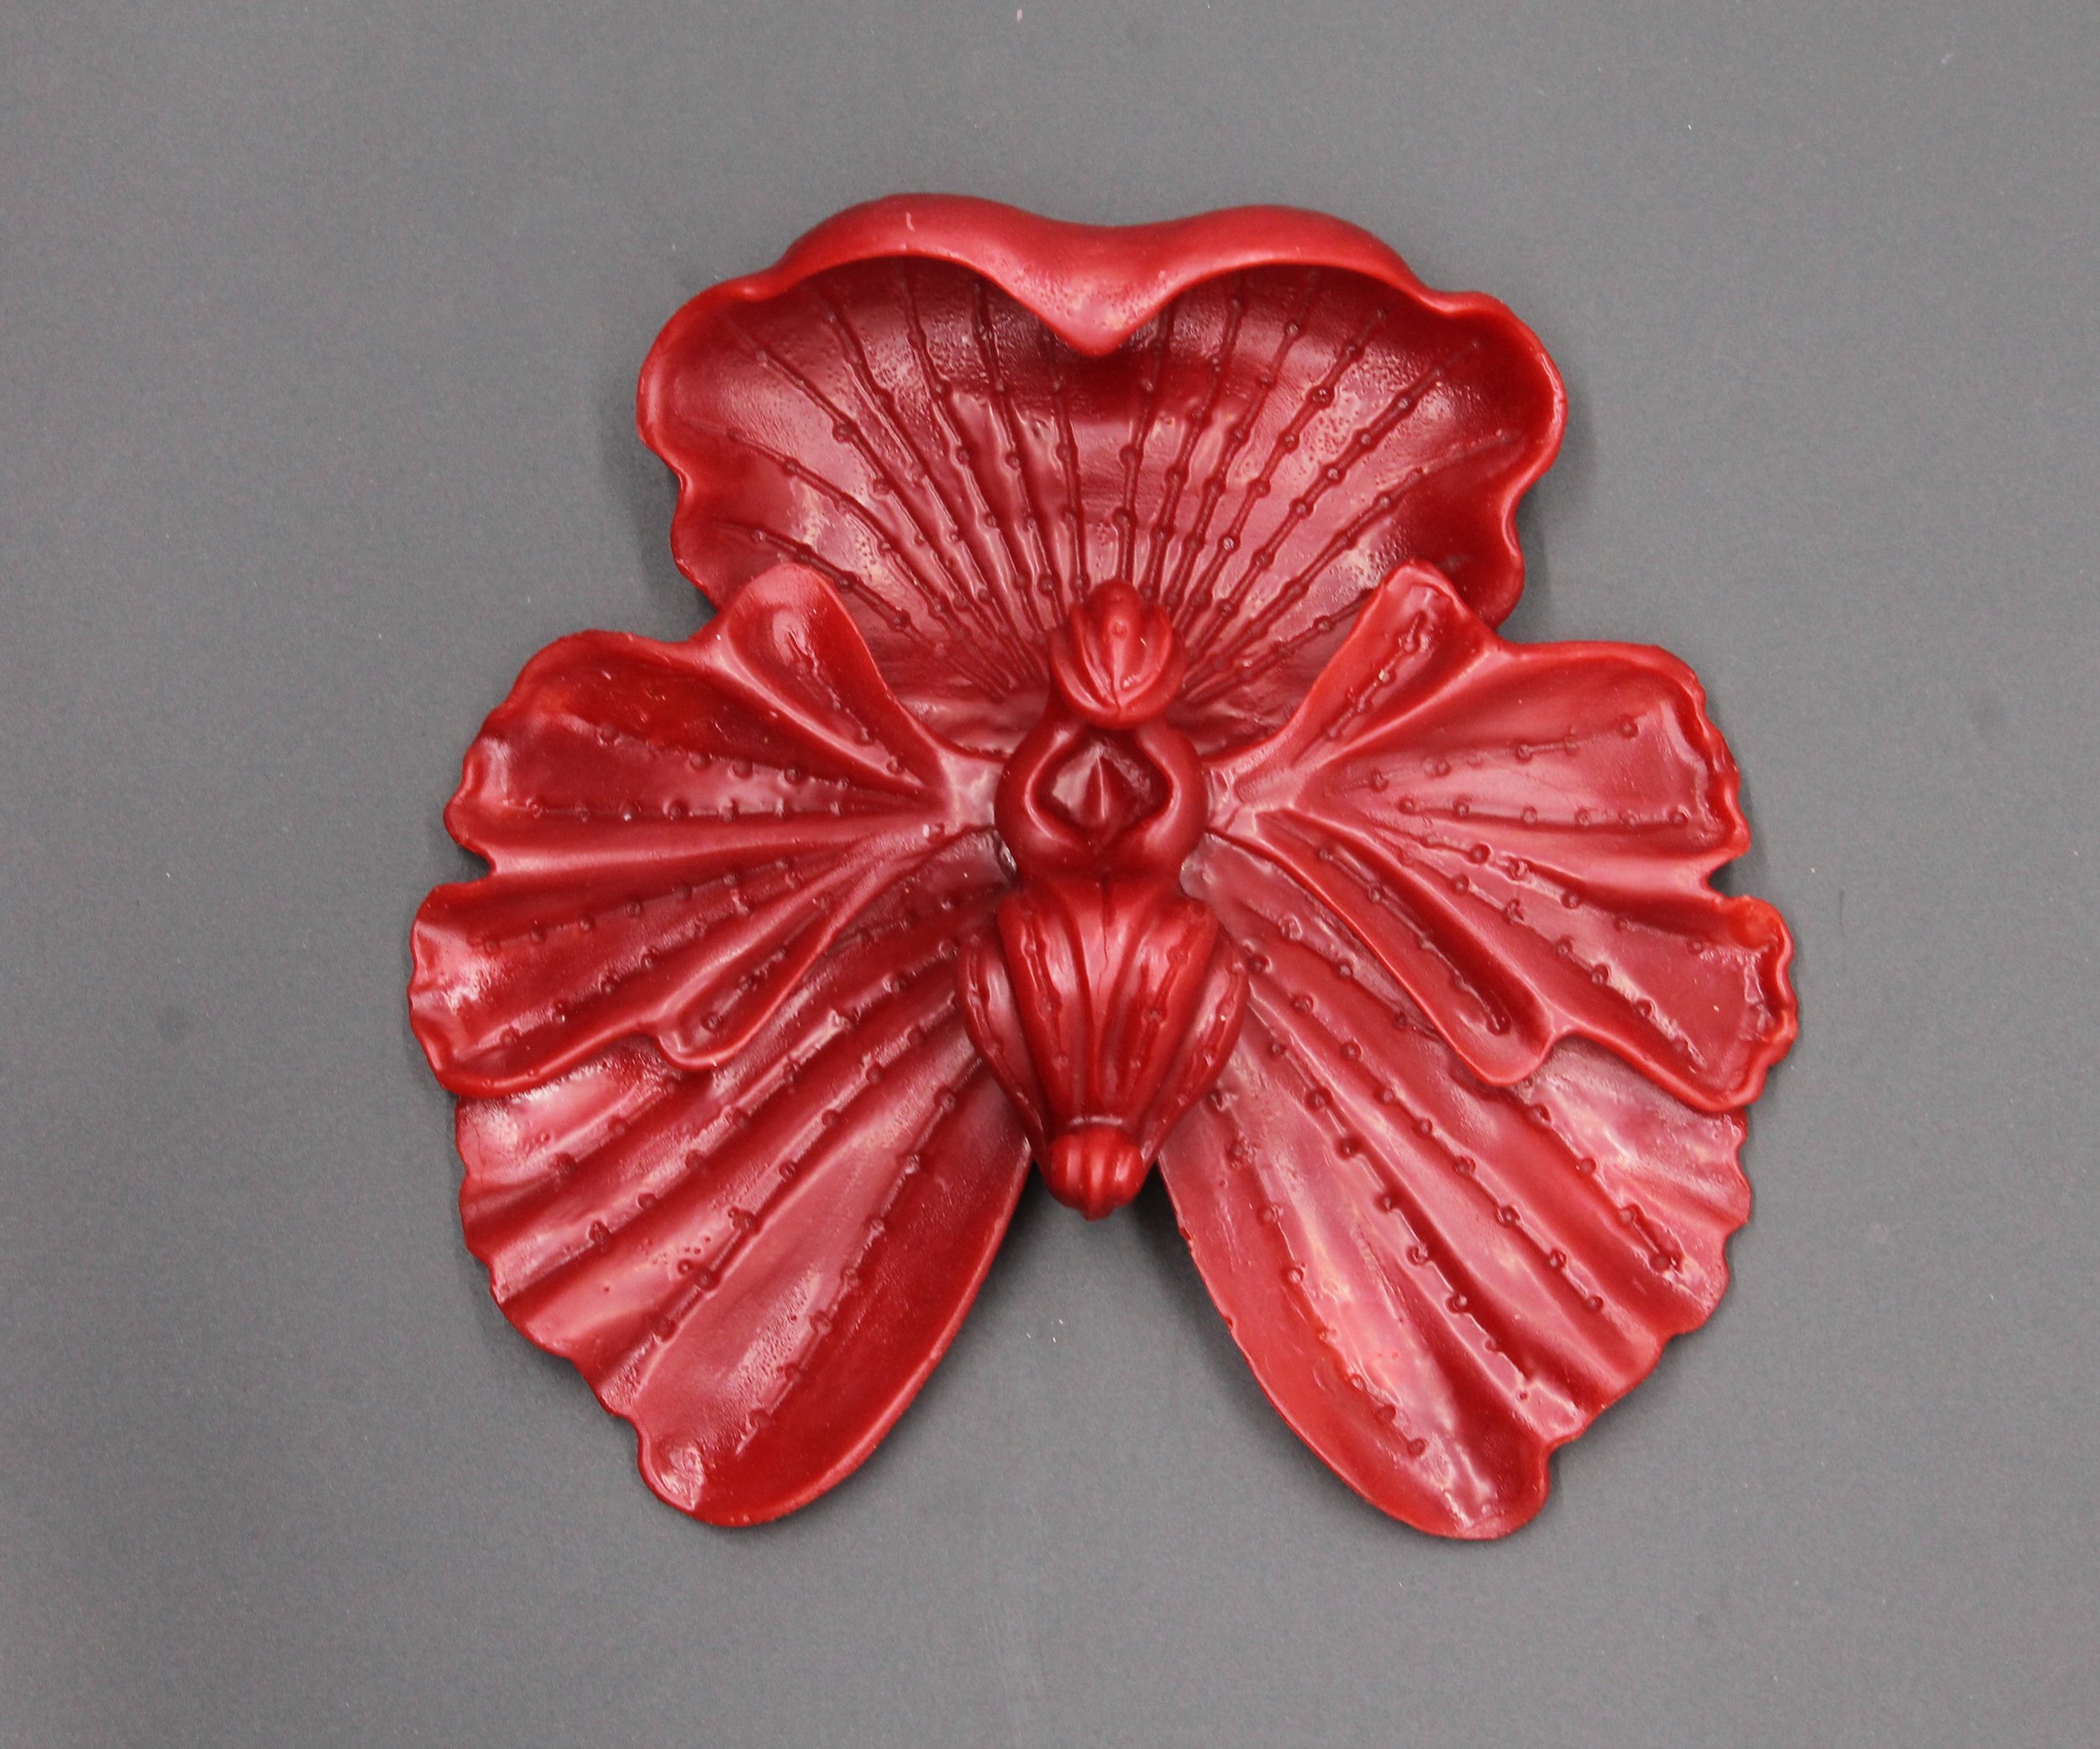
The wax sections are assembled so that we will have template to guide how we weld the 3 parts.
Mold Star is available in different degrees of pot life, meaning the amount of time it takes before the mixed solution sets. Mold Star 16 has a shorter pot life and quicker curing time than Mold Star 15 and is the rubber we prefer using. For large area with more volume of rubber we add another Reynolds product, Slo-Jo that slows the curing time. As the silicone rubber is curing and especially for larger dense molds there is a tendency for gas pockets to form. The pockets may not be visible but when wax is subsequently poured into the silicone mold the pockets will create small holes in the wax. To prevent this, we place the thoroughly mixed silicone into a vacuum chamber and pump out the air and gases that form and when the remaining bubbles are extremely small, we then pour the solution over our pattern to create the mold.
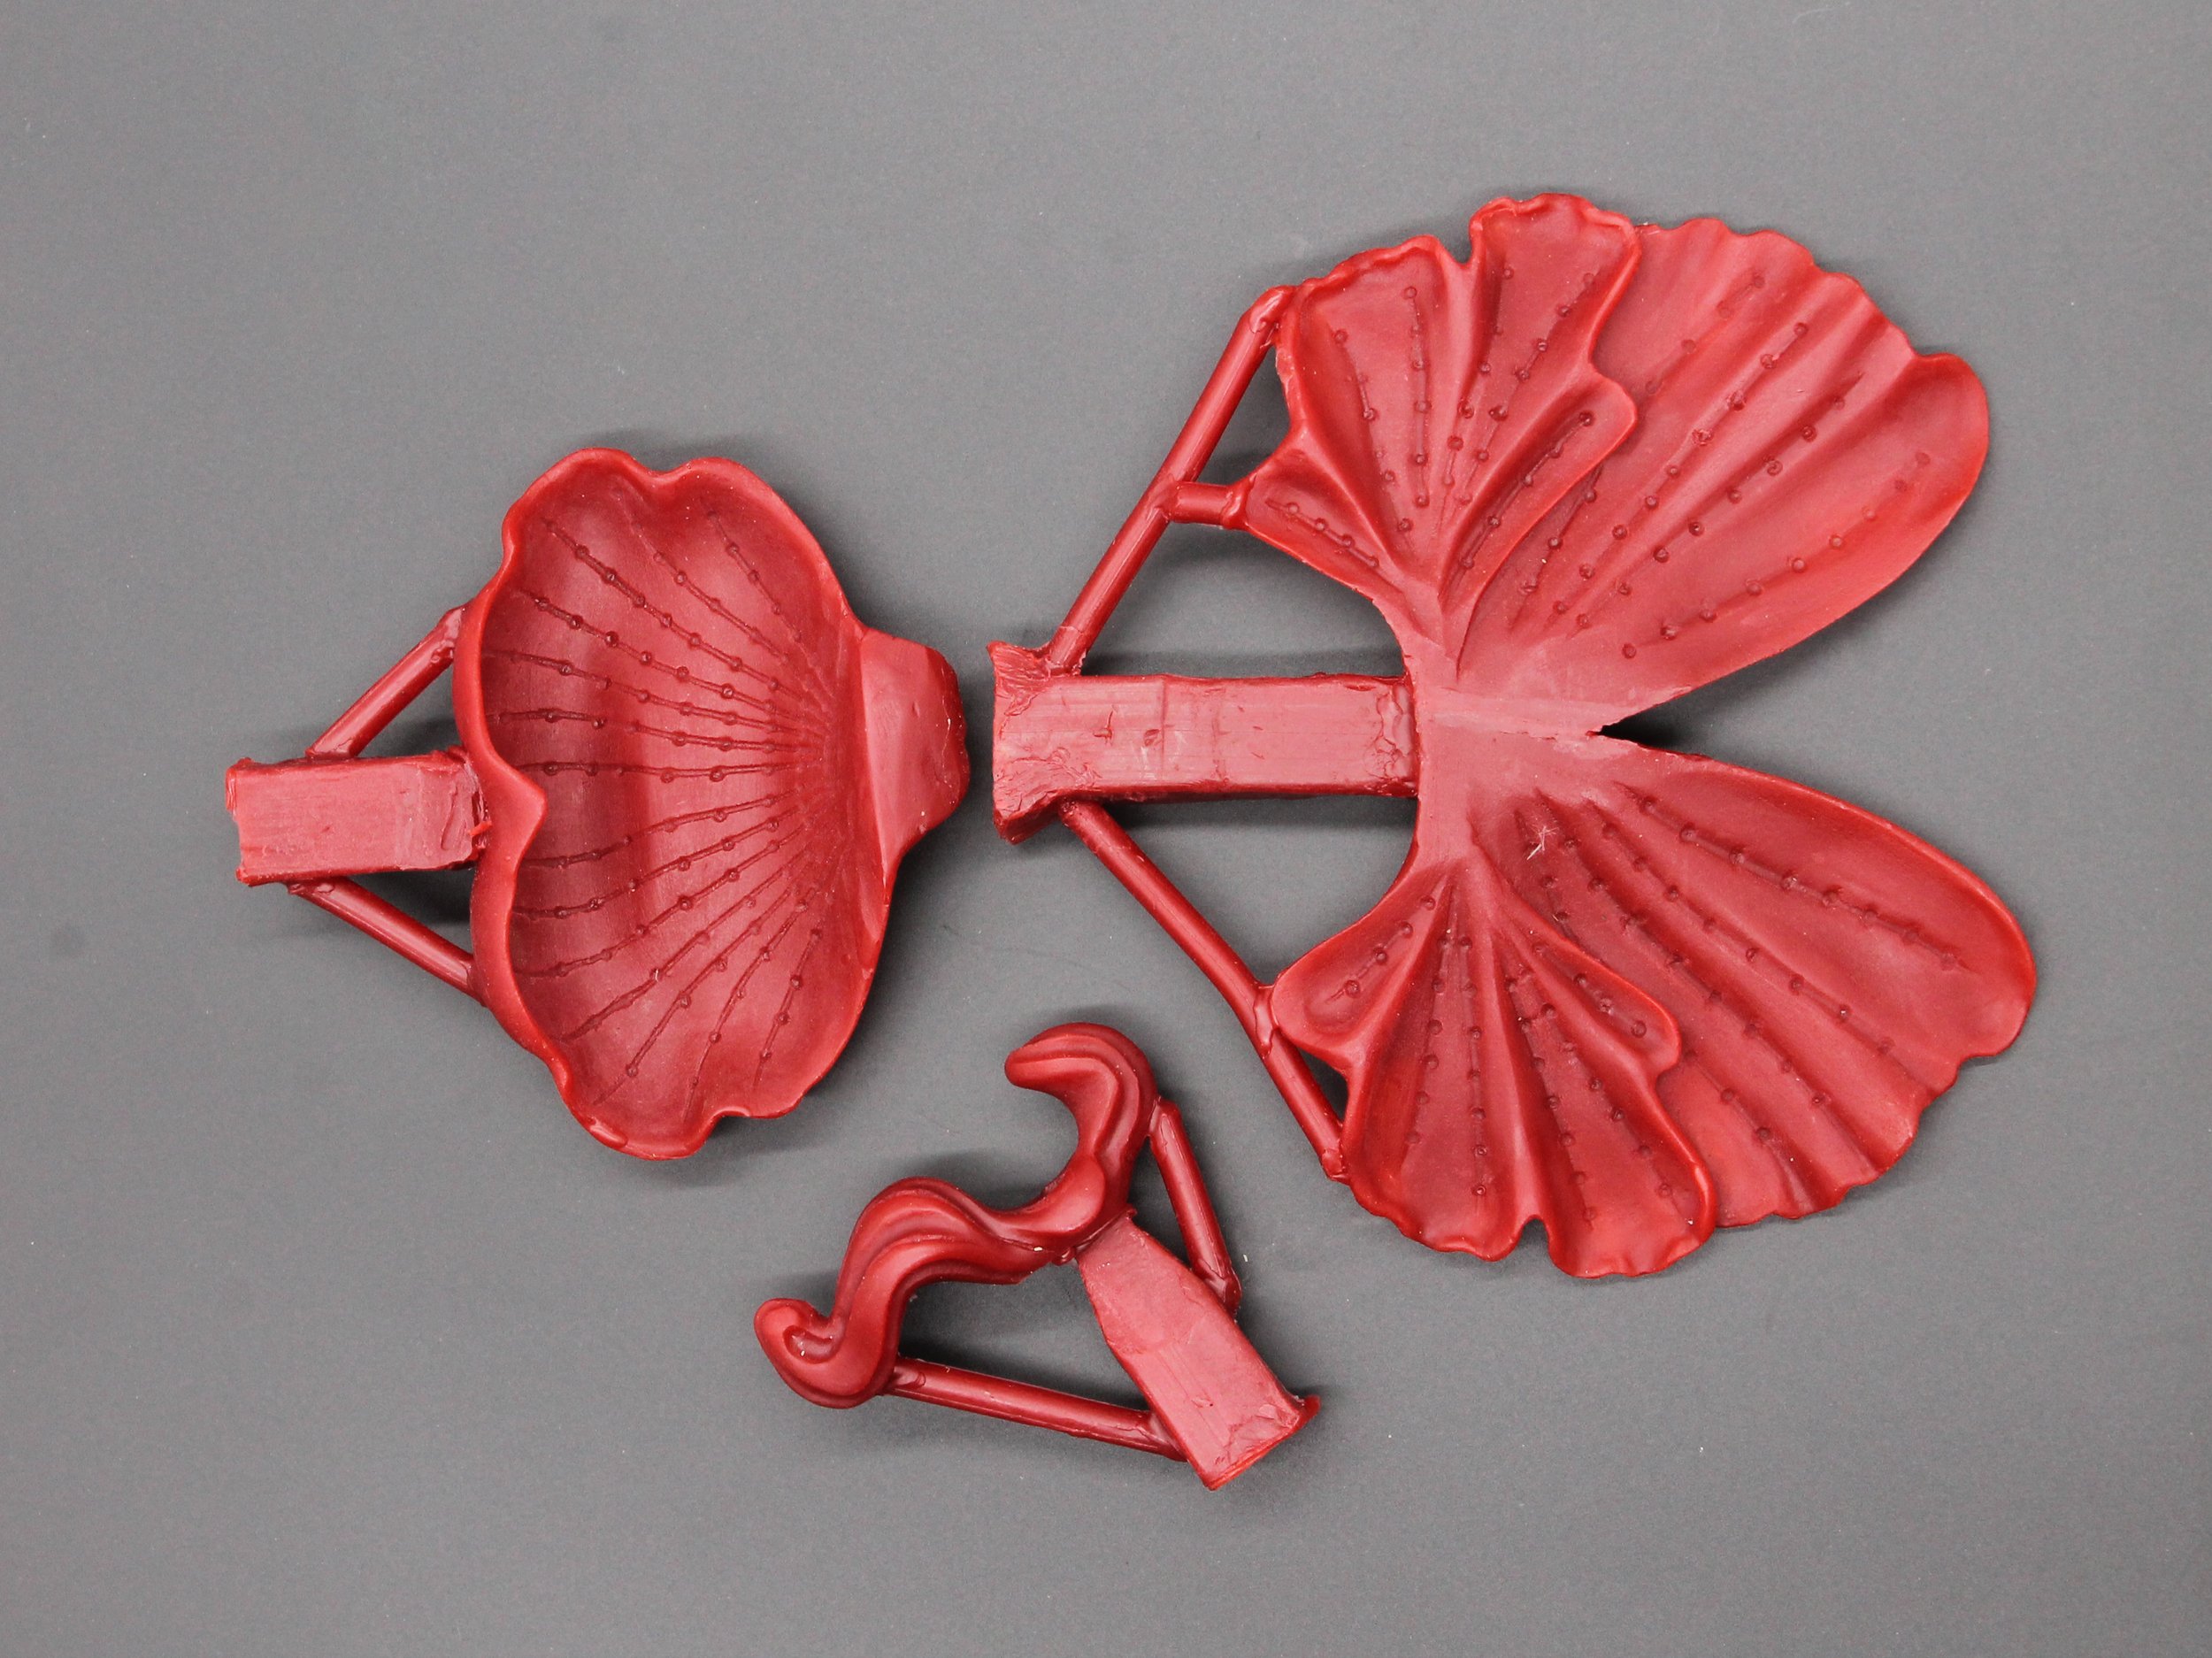
The 3 sections will be cast separately and will be welded together once cast
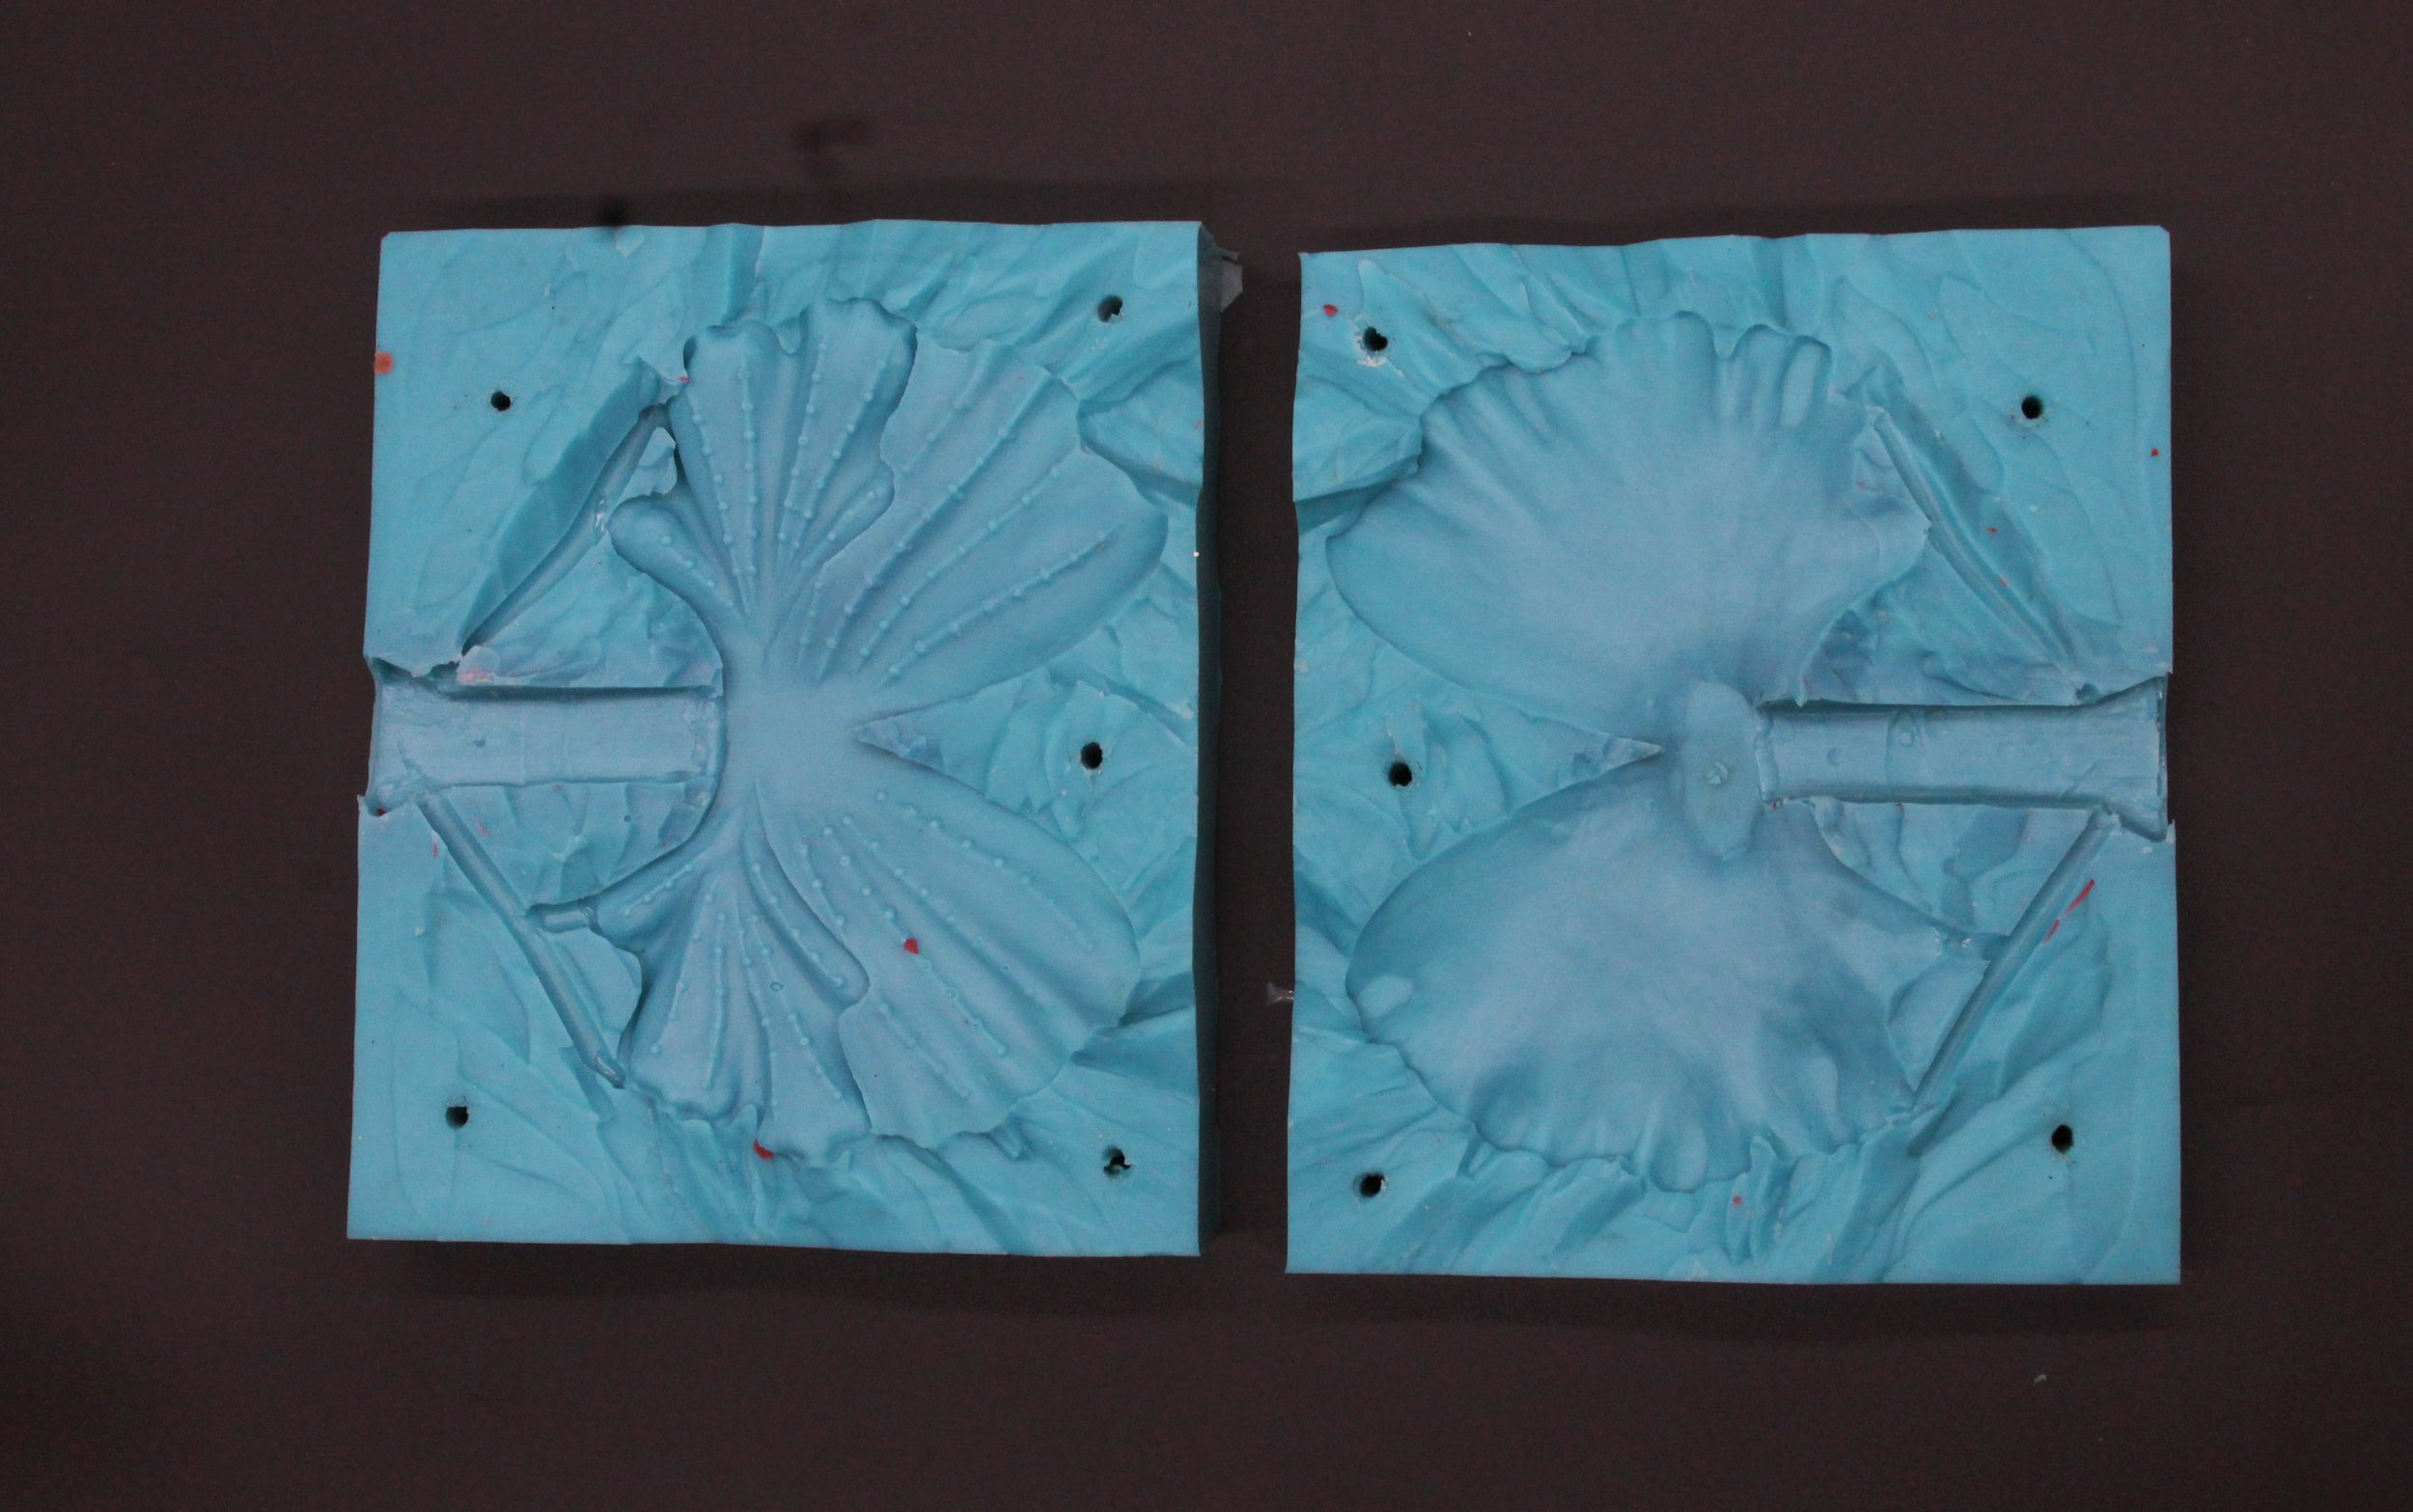
These are simple 2-part molds that most hobbyists could make with a little time and practice. As the patterns are not too deep, they will be cast in solid bronze rather than as hollow castings. Our molds are used to create wax replicas for use in lost wax casting but the same type of mold could be used to create fiberglass or resin pieces. Gates and a central sprue are added to the pattern and these will become the channels for the poured bronze. The gated pattern is placed in a tight-fitting container and the silicone solution is poured over it and left to set. Once set, we insert a sharp blade into the side of the mold and cut around the outer edge and gently pull the mold apart to release the pattern. The cavity that has been formed around the pattern is then filled with hot wax which passes through a central hole in the mold. The 2 halves of the mold are firmly held together with 2 pieces of bolted plywood that will keep the mold rigid when the wax is being poured. Once the wax has set the plywood is unbolted, the 2 parts of the mold are pulled apart and the wax replica is ready to be shelled. If you were casting your piece in resin, you would omit the gate and sprues and your product would be complete after the resin had set.
2 Part mold for petals these are held together with bolted plywood when wax is being poured
The orchid is assembled in wax as a guide we will use when welding the bronze sections together. The piece could not be cast as a single flower as there are too many undercuts and the bronze would not pour easily.
Bolts keep the 2 plywood formers in place while red wax is poured


