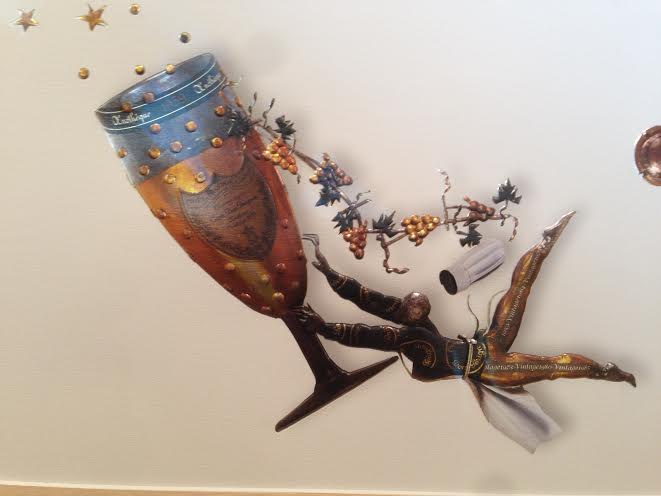
This pictorial recap will complete our 6 part series on creating a piece of custom hardware designed to the client's exact specifications. It begins with an inspiration piece, in this case a metal foil collage the client owned:
A hand-drawn rendering is submitted for design approval:
Once approved, a hand-carved wooden mold is created:
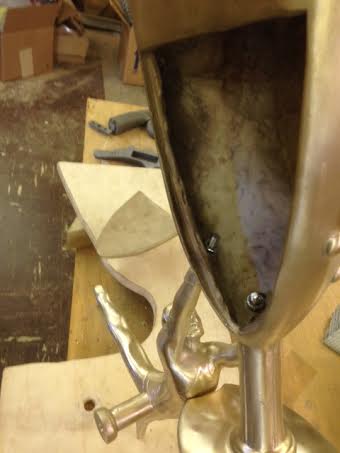
Design details are worked out:
A silicon shell is created and wax is poured:
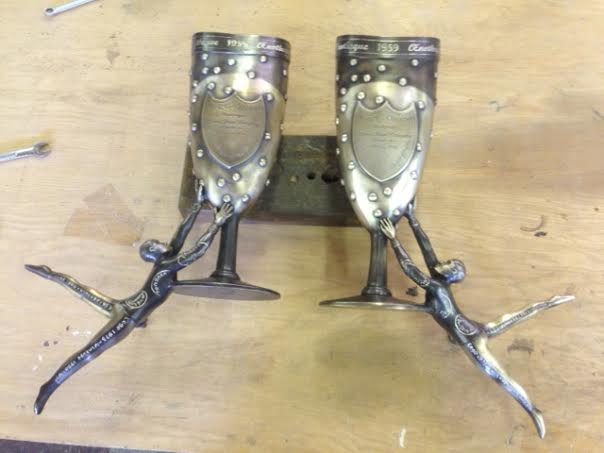
Assembly details are worked out. This particular project required two of everything as the door handles were being placed on both the entry and the exit of glass doors:
The finishing process includes waxing and buffing to highlight specific details:
The finished product--double door handles with a glass door placed between them:
To inquire about purchasing one of these limited edition door handles or to view our entire collection of custom hardware, please visit our site at www.martinpierce.com.


